If you are not in primary than you are missing out. Just kidding all of the church is awesome. But primary is like the middle of the cinnamon roll.....which to me is the best part!
We have twelve 7 year olds turning 8 this year and so we wanted to start the year off with a bang. Sorry to those who have already celebrated great to be 8's this year!
Our theme was "I like to look for rainbows"
LOVE this song. I found this idea on pinterest for St. Patrick's Day, but "converted" it a party favor.
You need a bag of Rainbow Twizzlers
1 bag makes around 8 to 9 party favors
I got a second since we had 12 great to be 8's
and clear gift baggies
Dollar store is great. I bleed Target so that's where I got mine.
Then arrange the Twizzlers on a pan and then put them in the baggies.
Fold over the top and tape.
Print, cut, and tape on cloud handout on the top of the baggie.
So....I didn't realize that I did "love" instead of "like" until I had cut and taped them.
I did change it afterward in a PDF for all of you!
You hear the news......it's a boy! Now what's the first urge you receive? Um, hello, shopping spree. You just can't help it. You need all the cutest of cute things for your bundle of joy.
I found myself on Pinterest, Etsy, Zulily, Amazon, anywhere that fed my shopping needs. These are my favorite finds.
1. The Mustachifier
What the freakin' cute???? Comes in the classic gentleman, ladies' man, and cowboy. Perfect for your little beau.
Note: Our little man was so tiny that the mustachifier was a wee bit heavy at first.
Make the Mustachifierfor a just-as-cute, inexpensive, and lighter alternative from Create Studio.
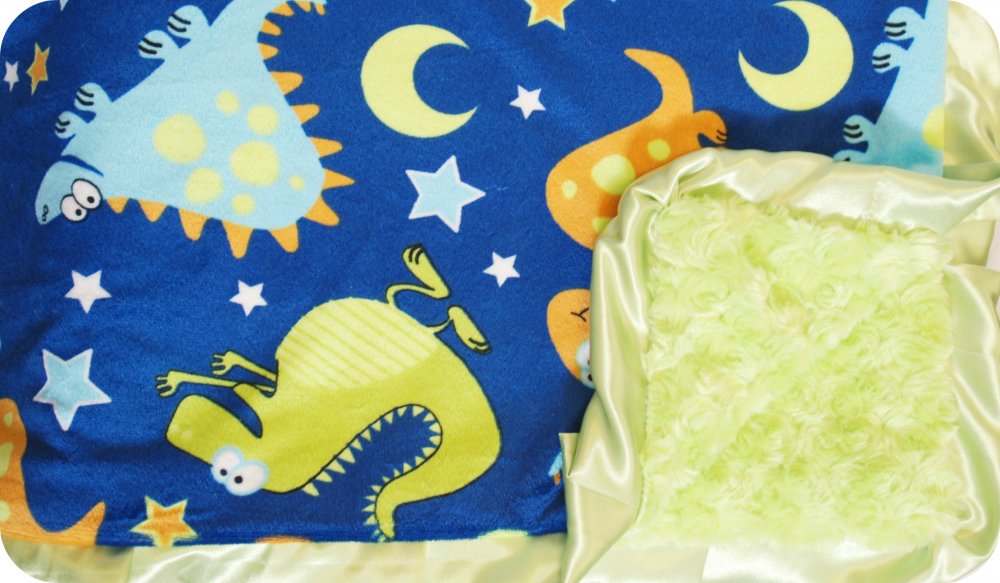
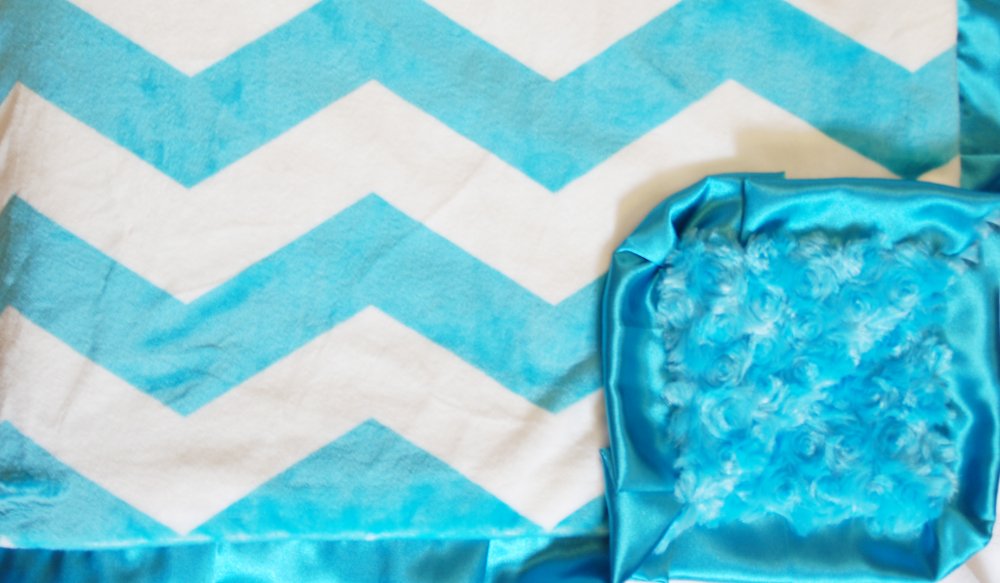
2. Minky Couture Blankets
My family is OBSESSED with these softer-than-cloud blankets. None of our kids can sleep without them.
Besides avoiding the hassle of sewing together the difficult minky fabric, Minky Couture fabrics come in tons of sizes and and amazing designs. Buy one and become addicted.
Three minky's your little man needs:
Mini Minky - a 10in x 18in mini blanket for on-the-go softness
Infant Minky - 36in x 30in to snuggle your babe in
Fitted Crib Sheet - perfect for a good night's sleep (more like snoozes)
COUPONS: yes.....never buy a Minky without a coupon!
If you live in Utah, look in your local Hometown Values magazine
Sign up for email deals on Minky's website, or go to
http://www.retailmenot.com/view/softminkyblankets.com
3. Baby Moccasins
Freshly Picked baby moccasins as seen on Shark Tank! Not only are they adorable, but the soft soles prove better for teaching your babe to walk. SO popular right now.
Or make your own Velcro Bow Ties by The Pleated Poppy. Easy no-sew tutorial!
And last but not least......
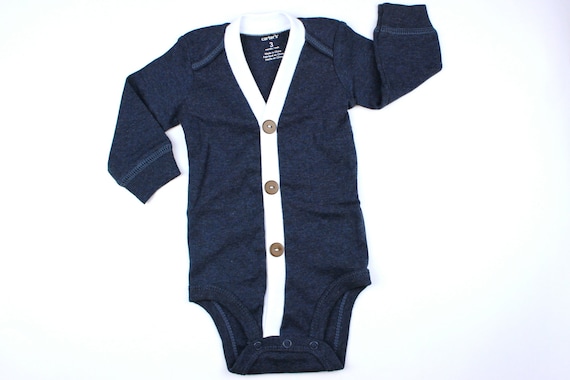
5. The Baby Boy Cardi
Okay....how can you look at a baby in this and not die from cuteness??? Yes please. There are a few places to buy these on Etsy, but Haddon & Co is my favorite. She also has Cardi/Bow Ties sets. You can also find these at Carter's.
I love the whole carseat canopy thing. So cute! And as I've learned the last month, it keeps your kid warm and away from germs.
When I was still pregnant everyone told me about this carseat canopy website. But holy expensive! Even with the promo codes I thought to myself I could do this for so much cheaper! So of course I found myself on Pinterest.
I hate reading instructions. I am a huge visual learner...show me how to do it once and we're good. So when it comes to following a tutorial on the internet, I read several to see which one I like and understand the most.
I found this tutorial for a carseat canopy and loved it. SO easy, especially if you pretend to be a good sewer, like me. It literally took me one hour! Which, according to my husband, never happens!
I pretty sure I just joined the "Halloween's my favorite holiday" club. Maybe it's because this is my first Halloween decorating my own house. And I've been going crazy with the decorations! And Nightmare Before Christmas is constantly playing in my head. My husband came home yesterday to a chaotic mess of black and orange on our kitchen table. Should I be doing the dishes? Probably. But crafting is so much more fun.
I love wreaths, as I suppose any Pinterest-loving crafter does, so this is my first stab at my "Wreath of the Month." Every last Thursday (or so) of the month, I will be posting a DIY wreath. Ta da! I'm so excited. So for those of you, like me who get sick of decorations fast, can at least enjoy a flare of change at least once a month.
First off, if you haven't gone to JoAnn's in a while.....NOW IS THE TIME. Best deals right before Halloween, especially for fabic. And also Target's "Spot on the Dot" has great $1-$3 Halloween decor.
Everything I bought for the wreath I found at JoAnn's. I'm a fan of anything big and sparkly, hence the boa.
With one yard of the Tulle and 2 yards of the orange netting, my total came to $15.75. Not bad!
I prefer my strips to be chunky, then I layered them for more volume
Most people use pipe cleaners to tie the fabric to the wire frame. I just used black yarn that I found lying around the house. A little more time consuming but saved me a couple of bucks :)
I did the orange first, and then implemented the black into the wreath.
I used a hot glue gun and glued the boa to the netting. This gave me some control over the crazy black feathers.
I saved extra ribbon to hang the wreath. And here's the finished product:
As I said before...I LOVE Halloween!
Check out my blog next time for my Thanksgiving wreath.
I live in a cute little 1940's home. Which is awesome(and I love), except for......the dreadful air vents. Anybody with me on this one? You know....those honkin' huge metal radiator looking things that take up half the wall. Yeah those.
Um gross.
Especially in this color, with a little left over 1940's grime.
THERE IS HOPE. Since my living room colors are grays, yellows, and greens, it was time for a change. No more ugly (is that color gold?) vents.
Time for a trip to Walmart. I love their spray paint, especially the Krylon nickel color.
Wipe the vents down, spray, let them dry and whhhhaaaallla!
I found this cute idea on Pinterest and LOVED it. I needed a little something to spice up our kitchen, so this was perfect. Great when you have limited kitchen wall space.
All that's needed is a picture frame, 2 spoons, and a piece of scrapbook paper. I just printed off the words from my computer. Easiest project I've ever done and everyone who reads it laughs:)
I think it's a great Anniversary, Valentine's, or Wedding gift.
When I was in New York serving an LDS mission, a Sister who taught with me had these amazing beautiful boxes. She stored all her stuff in them and it was super easy for her to stay organized. I asked her where she got them and she looked at me like I was crazy! "I made them!" she said.
All you need to turn your ordinary old boxes and into Stylish organizers, is a box, cute scrapbooking paper, and rubber cement glue.
And whaLA!!!!
Useful tips: While using the rubber cement, you have to douse the paper and the box and the let the glue dry for 2 minutes before bonding.
I am obsessed with the chevron pattern...which is okay because it seems the rest of the DIY-er population is too. My latest adventure was painting the spare bedroom.....which one day will be our kiddies room. I read so many DIY blogs and watched on painting a perfect chevron on my wall. Oh my goodness. All of the blogs/tutorials recommend drawing a grid on your wall. I realized if I wanted to spend the rest of my life painting one wall then I should follow their advice. So I created my own perfect chevron plan.
It's been thought of before and certainly isn't rocket science, but it made my life so much easier! I created a template for one chevron:
Um yeah.....it's out of my random pile of scrapbook paper.
Here are the measurements:
7 in high
9 in long
up 3 in from the bottom
I started by marking down every 7 inches on one side of the wall with a 12 inch ruler then I traced my template on the wall with a pencil.
I would also measure the wall after I traced it just to make sure it was aligned right


 I used a hot glue gun and glued the boa to the netting. This gave me some control over the crazy black feathers.


